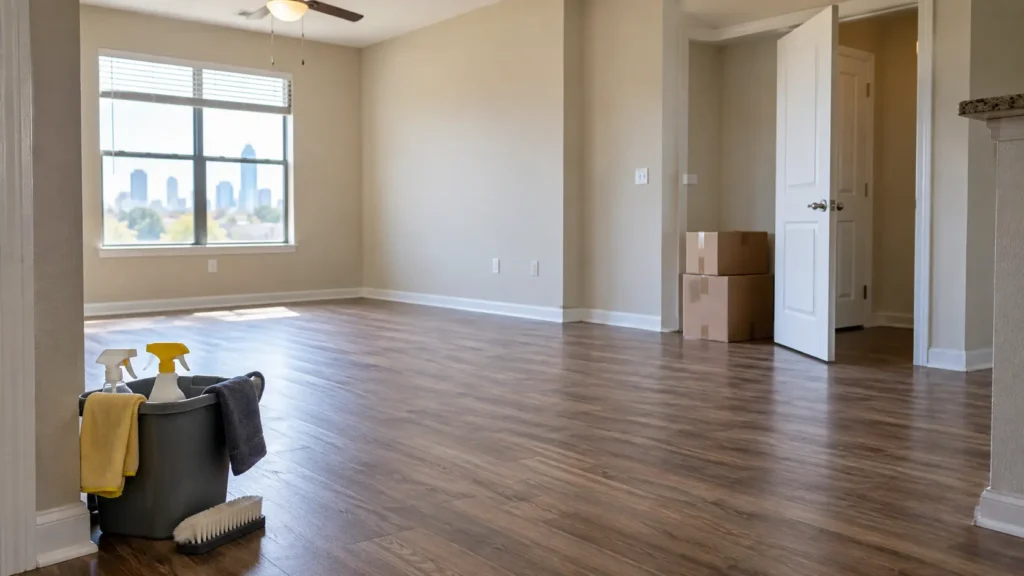
This move out cleaning checklist Houston renters can follow covers every room, from the kitchen and bathrooms to floors, walls, and final inspection photos.
Moving already involves packing, address changes, utility transfers, and tight deadlines. Cleaning an entire apartment or house at the end can easily become the task that gets rushed. This move out cleaning checklist for Houston renters organizes the work room by room so you can prepare the property for inspection without overlooking appliances, cabinets, baseboards, or other commonly missed areas.
The goal is not to make an older rental look brand new. It is to remove your belongings, clean the dirt created during your tenancy, follow the requirements in your lease, and document the condition in which you returned the property.
Quick Move-Out Cleaning Checklist
If you are short on time, begin with these priorities:
- Remove all personal belongings and trash.
- Clean the oven, stovetop, refrigerator, microwave, and dishwasher.
- Wipe the inside and outside of cabinets and drawers.
- Scrub showers, tubs, sinks, toilets, tile, and mirrors.
- Dust ceiling fans, vents, blinds, shelves, and baseboards.
- Remove fingerprints and marks from doors, handles, and switches.
- Vacuum carpets and mop hard floors last.
- Check closets, balconies, patios, garages, and storage areas.
- Photograph every clean, empty room before returning the keys.
- Give your landlord or property manager a forwarding address.
This abbreviated list covers the essentials, but the detailed checklist below will help you prepare more thoroughly.
Before You Start Cleaning
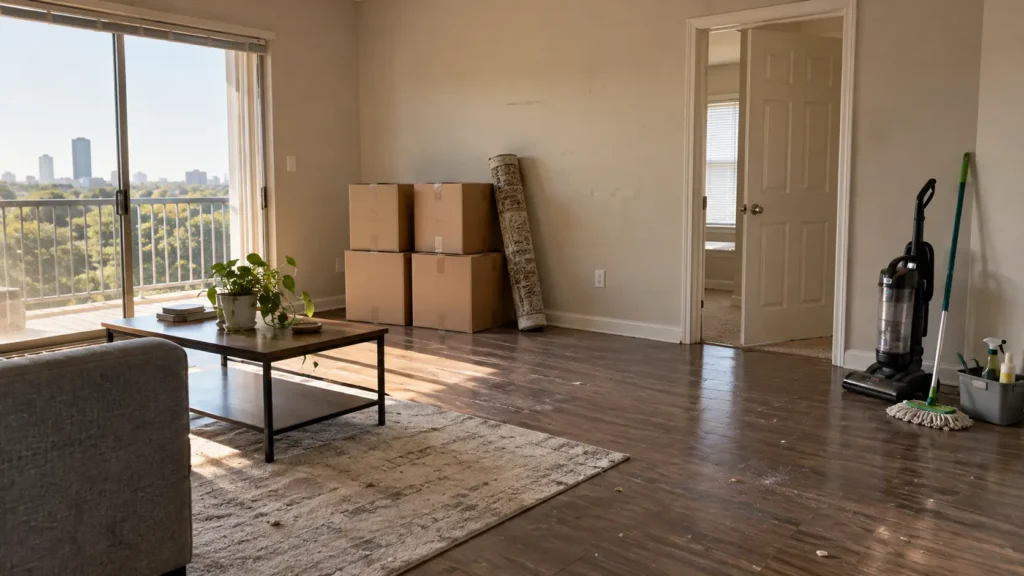
Read Your Lease and Move-Out Instructions
Do not assume that every Houston property uses the same inspection checklist. Review your lease, resident handbook, move-in condition report, and any written instructions from the landlord or property manager.
Look for requirements concerning:
- Carpet cleaning
- Nail holes and wall repairs
- Appliance interiors
- Pest treatment
- Yard or patio maintenance
- Trash removal
- Key and access-device returns
- Required receipts from professional services
If a requirement is unclear, ask for clarification in writing before paying for a service or attempting a repair.
Understand the Difference Between Dirt and Normal Wear
Texas guidance distinguishes abnormal damage from ordinary wear and tear. The Texas Attorney General explains that a landlord may charge for actual abnormal damage but not for normal wear and tear. Cleaning and damage are not always the same issue, so document the property’s condition carefully and keep your move-in records.
The Texas State Law Library’s security deposit guide explains that Texas law generally requires a residential security deposit to be refunded within 30 days after the tenant surrenders the premises. However, a tenant must provide a forwarding address before the landlord is obligated to return the deposit or provide an itemized description of deductions. This is general information, not legal advice; review your lease and current Texas requirements for your situation.
Empty the Property First
Cleaning around packed boxes takes longer and makes it easy to miss walls, floors, closets, and the spaces behind furniture. Move out as many belongings as possible before completing the final cleaning. Keep only the supplies, step stool, vacuum, mop, trash bags, and tools you still need.
Supplies to Prepare
Gathering everything first prevents repeated trips to the store. Depending on the surfaces in your rental, you may need:
- Microfiber cloths
- Sponges and non-scratch scrub pads
- All-purpose cleaner
- Degreaser
- Glass cleaner
- Bathroom cleaner
- Disinfectant suitable for the surface
- Vacuum with attachments
- Broom and dustpan
- Mop and bucket
- Trash bags
- Rubber gloves
- Small cleaning brush or old toothbrush
- Step stool
- Paper towels
- Magic eraser or similar melamine sponge, if approved for the surface
Never combine cleaning chemicals. Test unfamiliar products in a hidden area and follow the manufacturer’s instructions, especially on stone, wood, stainless steel, painted walls, and coated fixtures.
Room-by-Room Move-Out Cleaning Checklist for Houston Renters
Work from the top of each room downward. Dust ceiling fans and high shelves first, clean surfaces next, and leave vacuuming and mopping until the end. This prevents dust from falling onto a floor you already cleaned.
Whole-Home Cleaning Tasks
Complete these tasks in every applicable room:
- Remove trash, adhesive hooks, shelf liners, and personal items.
- Remove cobwebs from ceilings and corners.
- Dust ceiling fans, light fixtures, vents, and return-air grilles.
- Wipe doors, door frames, handles, and closet tracks.
- Clean fingerprints from switches and outlet covers.
- Dust blinds and clean window sills and tracks.
- Wipe shelves, closet rods, and built-in storage.
- Dust and wipe baseboards.
- Spot-clean washable wall marks using a product safe for the paint.
- Check corners and edges for pet hair.
- Replace burned-out bulbs if required by the lease.
- Vacuum carpet edges and under any remaining furniture.
- Sweep and mop hard flooring.
Do not repaint, fill holes, or perform repairs unless your lease requires it or the property manager has approved the work. An incorrect paint color or poor repair can create a larger problem than the original mark.
Kitchen Cleaning Checklist
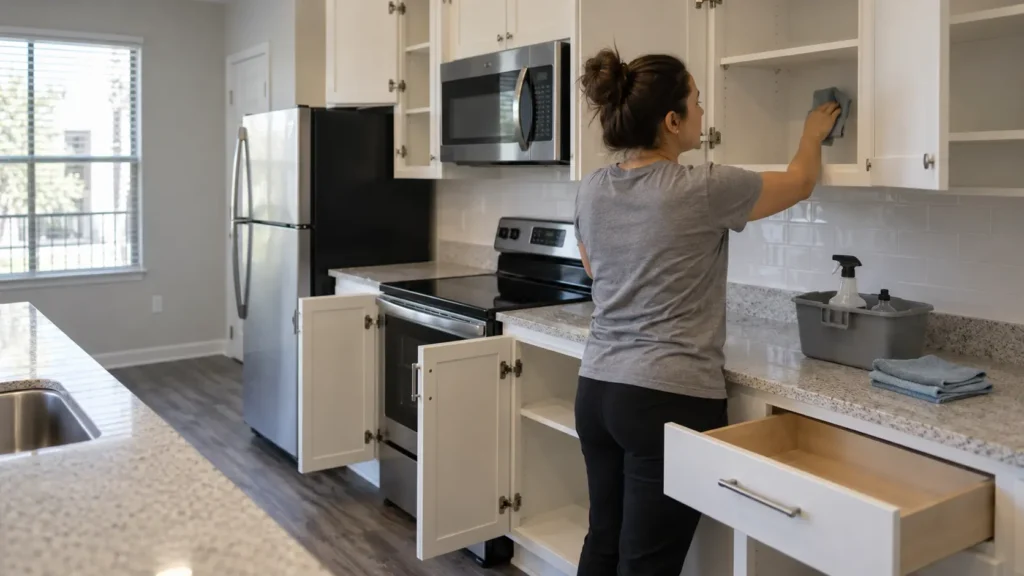
The kitchen usually requires the most time because grease, crumbs, and food residue collect inside appliances and cabinets.
Cabinets, Drawers, and Surfaces
- Empty every cabinet and drawer.
- Vacuum crumbs before wiping interiors.
- Wipe cabinet shelves, drawer interiors, doors, and handles.
- Remove removable shelf liners unless instructed otherwise.
- Degrease the backsplash and washable wall areas.
- Clean countertops using a product appropriate for the material.
- Scrub and rinse the sink.
- Polish the faucet and remove mineral residue carefully.
Refrigerator and Freezer
- Remove all food and ice.
- Turn off or unplug the appliance only if instructed.
- Clean shelves, drawers, walls, seals, handles, and exterior surfaces.
- Wipe underneath and behind the refrigerator if it can be moved safely.
- Dry the interior to reduce odors and moisture.
- Follow the property manager’s instructions about leaving doors open or power connected.
Oven, Stovetop, and Range Hood
- Remove racks and clean them according to the appliance instructions.
- Clean the oven interior and door glass.
- Degrease the stovetop, burner components, knobs, and control panel.
- Wipe the front, sides, and area beneath the appliance when accessible.
- Clean the range hood exterior and reusable filter if required.
Avoid using oven cleaner on surfaces for which it is not approved. Do not use a self-cleaning cycle without checking the appliance instructions and property rules.
Dishwasher and Microwave
- Remove food debris from the dishwasher filter if accessible.
- Wipe the door edges, seals, racks, and exterior.
- Clean the microwave ceiling, turntable, door, handle, and control panel.
- Check surrounding cabinets and walls for grease splatter.
Finish by sweeping and mopping the kitchen floor, including edges and the spaces previously covered by movable furniture.
Bathroom Cleaning Checklist
Bathrooms often need additional attention because soap residue, mineral deposits, hair, and moisture buildup can remain even after routine cleaning.
- Scrub and rinse the shower or bathtub.
- Clean shower doors, tracks, seals, and frames.
- Remove soap residue from tile and approved grout surfaces.
- Clean the sink, countertop, faucet, and drain area.
- Clean and disinfect the toilet, including the base and the area behind it.
- Polish mirrors and glass.
- Wipe cabinets and drawers inside and outside.
- Dust vents, light fixtures, shelves, and towel bars.
- Remove hair from corners and floor edges.
- Mop the floor and allow the room to dry.
If cloudy mineral buildup remains on a glass enclosure, use our guide on how to remove hard water stains from shower glass without damaging the surface.
Do not use acidic cleaners such as vinegar on natural stone. Confirm the material before treating mineral deposits or grout.
Bedrooms, Living Room, and Dining Area
Once furniture and boxes are removed, inspect areas that were previously hidden.
- Empty and wipe closets, shelves, and drawers.
- Dust fan blades, fixtures, vents, and blinds.
- Clean window sills and tracks.
- Remove dust from baseboards and door frames.
- Check walls and doors for washable marks.
- Vacuum inside closets and along carpet edges.
- Vacuum beneath the areas where beds and sofas stood.
- Mop hard flooring.
- Remove pet hair and odors using surface-appropriate methods.
If the property was furnished, return furniture to its required position and check the lease instructions before cleaning upholstery or applying any product.
Laundry Area, Garage, Patio, and Storage
These spaces are easy to forget during a rushed move.
- Remove detergent, dryer sheets, boxes, and stored belongings.
- Wipe the washer and dryer exterior.
- Remove lint from the dryer filter.
- Sweep behind appliances if safely accessible.
- Wipe laundry shelves and cabinets.
- Sweep the garage and remove trash or oil-treatment materials.
- Empty exterior storage closets.
- Sweep patios and balconies if required.
- Remove pet waste and personal items from private outdoor areas.
- Place trash and recycling in the approved collection location.
Do not leave unwanted furniture beside a dumpster unless property management has specifically authorized bulk disposal.
A Seven-Day Move-Out Cleaning Plan
Trying to clean everything after the moving truck leaves can create unnecessary pressure. Use this schedule to spread out the work.
Seven Days Before Moving
- Review the lease and request the inspection instructions.
- Book professional cleaners if needed.
- Gather supplies and reserve disposal or donation services.
- Begin using up or removing refrigerated food.
Five Days Before Moving
- Clean closets, cabinets, shelves, and rooms that are already packed.
- Dust blinds, fans, vents, and fixtures.
- Address approved minor tasks listed in the lease.
Three Days Before Moving
- Deep-clean the oven, refrigerator, and other appliances.
- Clean bathrooms except for quick final-use touchups.
- Remove unwanted items from storage and outdoor areas.
One Day Before Moving
- Remove remaining belongings.
- Wipe all open surfaces and baseboards.
- Vacuum carpet and mop hard floors.
- Take trash to the designated collection point.
After Everything Is Empty
- Walk through each room with this checklist.
- Inspect inside every cabinet, drawer, closet, and appliance.
- Take clear photos and video.
- Record meter readings if required.
- Return keys, remotes, parking passes, and access devices as directed.
- Provide your forwarding address in writing.
Commonly Missed Move-Out Cleaning Areas
Before declaring the job finished, inspect these spots:
- The top of the refrigerator
- Behind the toilet
- Oven racks and the drawer beneath the oven
- Cabinet and drawer interiors
- Range hood and filter
- Dishwasher door edges
- Refrigerator seals
- Window tracks
- Closet shelves
- Ceiling-fan blade tops
- Air vents and return grilles
- Baseboards behind furniture
- Door frames and handles
- Under sinks
- Balcony and storage closets
- Carpet edges and corners
Use a flashlight and view surfaces from different angles. Grease, dust, and streaks are often easier to see when light crosses the surface.
Document the Property Before Returning the Keys
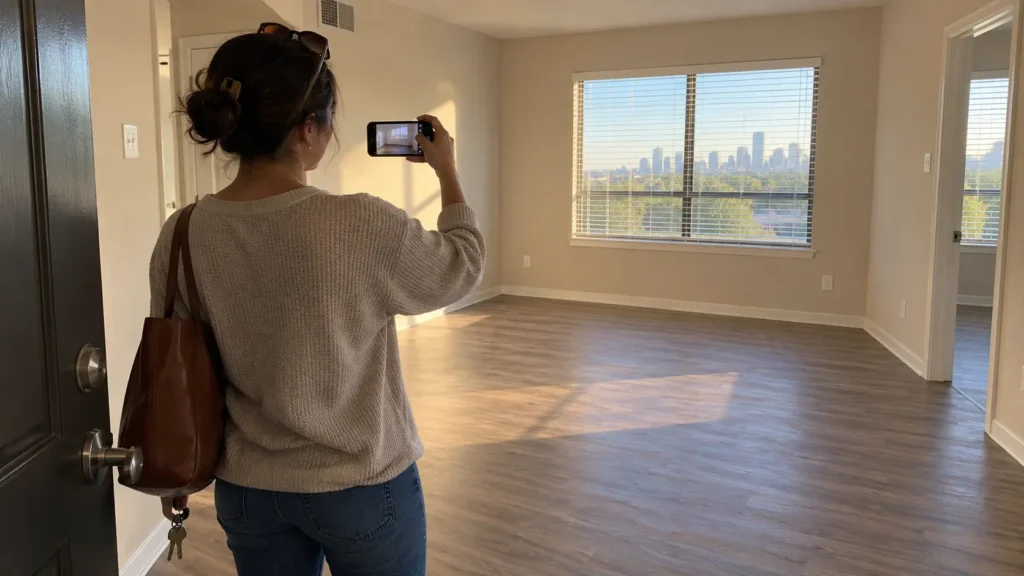
Cleaning is only part of a careful move-out. Documentation creates a dated record of the property’s condition.
Take wide photographs of every empty room and closer photographs of:
- Floors and carpet
- Walls and doors
- Appliance interiors
- Cabinets and drawers
- Sinks, tubs, showers, and toilets
- Windows and blinds
- Patios, garages, and storage areas
- Any pre-existing wear or damage
Save your lease, move-in report, cleaning receipts, messages, photographs, and key-return confirmation together. If possible, attend the final walkthrough and ask how any noted issue should be handled.
Should You Hire a Professional Move-Out Cleaner?
Doing the work yourself may make sense when the property is small, mostly empty, regularly maintained, and you have enough time. Professional service may be more practical when:
- You are managing packing and moving on the same day.
- The kitchen or bathrooms require deep cleaning.
- The home is large or has multiple floors.
- You have pets or extensive carpeted areas.
- You have already relocated outside Houston.
- The lease requests a receipt for a particular service.
- You want a documented cleaning appointment before inspection.
Before booking, ask whether the quote includes appliance interiors, cabinet interiors, baseboards, blinds, garage areas, carpet treatment, and other add-ons. “Move-out cleaning” does not mean exactly the same thing at every company.
You can compare house cleaning services in Houston through HomeProsly. For budgeting guidance, review our article on house cleaning costs in Houston. Confirm prices, availability, insurance, service details, and guarantee terms directly with the provider before scheduling.
Frequently Asked Questions
Do Houston renters have to hire professional cleaners?
Not automatically. The answer depends on the lease, property rules, and condition of the rental. Review any clause requiring professional carpet cleaning or another specific service. If the lease does not require a professional service, tenants may often complete the cleaning themselves, but they should still follow the property’s written move-out standards.
How long does move-out cleaning take?
The time depends on the size and condition of the property, whether it is empty, and whether appliance and cabinet interiors are included. A small, maintained apartment may take several hours, while a larger home with substantial buildup may require a full day or a cleaning team.
Should I clean before or after the movers arrive?
Complete cabinets, closets, appliances, and less-used rooms in advance. Perform the final floor cleaning and inspection after the furniture and boxes have been removed.
Can a Texas landlord deduct cleaning costs from a security deposit?
A landlord may make lawful deductions for qualifying charges or damage, but the Texas Attorney General states that tenants may not be charged for normal wear and tear. Deposit disputes depend on the lease, facts, documentation, and applicable law. Keep photographs and written records, and seek qualified legal help when necessary.
Should I clean the carpet myself?
Check the lease first. Routine vacuuming may be sufficient for a maintained carpet, while stains, odors, or an explicit lease requirement may call for additional treatment. Avoid saturating carpet or using unapproved products that could cause discoloration or damage.
What should I do after cleaning?
Complete a final walkthrough, photograph the empty property, remove all trash, return every key and access device, retain proof of the return, and provide your forwarding address in writing.
Final Move-Out Check
A successful move-out cleaning is organized, documented, and based on the actual lease requirements. Start before moving day, work from the top of each room downward, clean floors last, and inspect all spaces after the property is empty.
If the job is larger than you can complete comfortably, compare professional Houston cleaners early enough to confirm their availability. The best approach is the one that leaves sufficient time for a final walkthrough and any last corrections before you surrender the property.
Leave a Reply